Web Browsing is another common task, create a simple Web Browser which can Open and Save Favourite website addresses.
Printer Friendly Download Tutorial (263KB) Download Source Code (6.81KB) Online Demonstration
Step 1
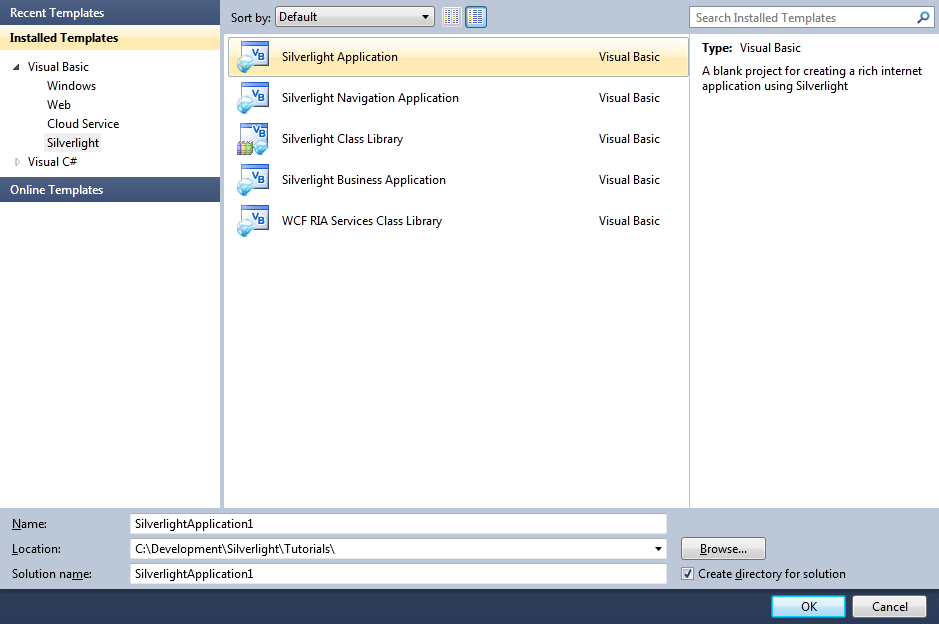
Start Microsoft Visual Web Developer 2010 Express, then Select File then New Project... Select "Visual Basic" then "Silverlight Application" from Templates, select a Location if you wish, then enter a name for the Project and then click OK, see below:
Step 2
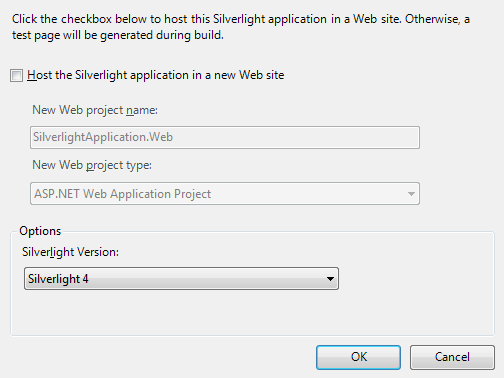
New Silverlight Application window should appear, uncheck the box "Host the Silverlight Application in a new Web site" and then select the required Silverlight Version, see below:
Step 3
A Blank Page named MainPage.xaml should then appear, see below:
Step 4
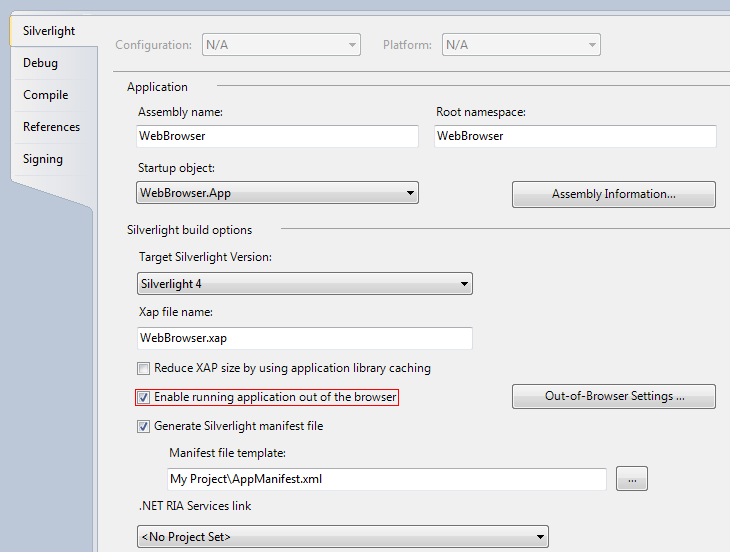
Select Project then Properties... The "Properties" window should appear, check the box "Enable running application out of the browser", see below:
Step 5
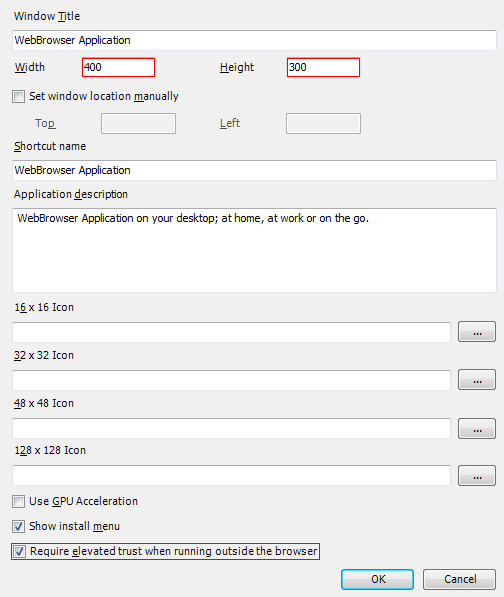
While still in the Properties Window, click on the "Out-of-Browser Settings..." button, set the "Width" value to 400 and the "Height" to 300,
then check the box "Require elevated trust when running outside the browser", see below:
Step 6
Confirm the Settings by Clicking on OK, return to the MainPage Designer View by selecting the "MainPage.xaml" Tab.
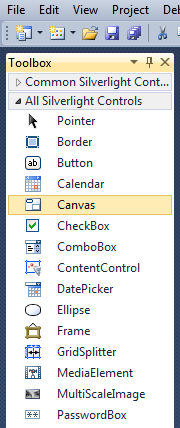
Then from the All Silverlight Controls section in the Toolbox select the Canvas control:
Step 7
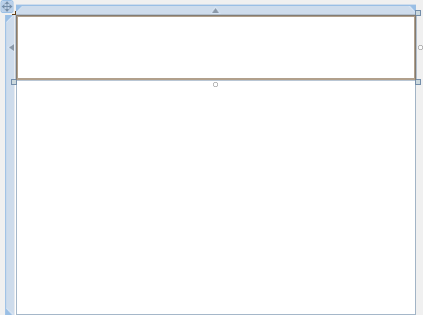
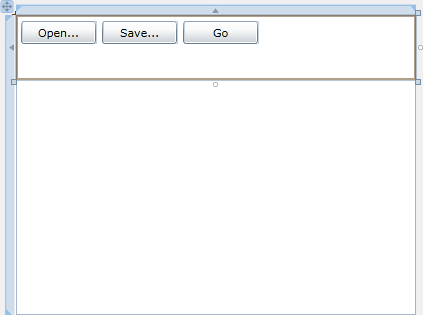
Draw a Canvas on the Page then in the XAML Pane above the "</Grid>" then change the "Canvas1" line to the following:
<Canvas Height="65" Width="400" VerticalAlignment="Top" HorizontalAlignment="Left" Name="Toolbar"></Canvas>
See below:
Step 8
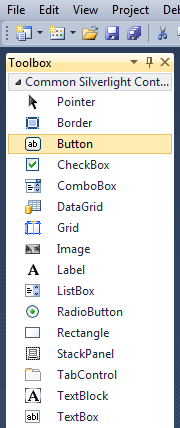
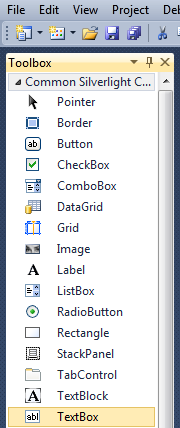
Then from the Common Silverlight Controls section in the Toolbox select the Button control:
Step 9
Draw Three Buttons on the Canvas by dragging the Buttons from the Toolbox onto the Canvas then in the XAML Pane inbetween the "<Canvas>" and "</Canvas>" tags change the "<Button>" lines to the following:
<Button Canvas.Left="6" Canvas.Top="6" Height="23" Width="75" Name="Open" Content="Open..."/>
<Button Canvas.Left="87" Canvas.Top="6" Height="23" Width="75" Name="Save" Content="Save..."/>
<Button Canvas.Left="168" Canvas.Top="6" Height="23" Width="75" Name="Go" Content="Go"/>
See below:
Step 10
Then from the Common Silverlight Controls section in the Toolbox select the TextBox control:
Step 11
Draw a TextBox on the Canvas (Toolbar) with the Buttons, and in the XAML Pane below the "<Button>" tag and above the "</Canvas>" change "TextBox1" to the following:
<TextBox Canvas.Left="6" Canvas.Top="36" Height="23" Width="388" Name="Address"/>
See below:

Step 12
While still in the XAML Pane below the "</Canvas>" and above the "</Grid>" Tag, type the following:
<WebBrowser Height="235" Width="400" Margin="0,65,0,0" HorizontalAlignment="Left" VerticalAlignment="Top" Name="Browser"/>
See below:
Step 13
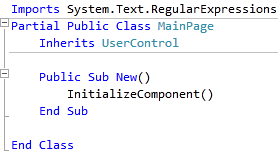
Right Click on the Page or the entry for "MainPage.xaml" in Solution Explorer and choose the "View Code" option. In the Code View above the "Partial Public Class MainPage" line type the following:
Imports System.Text.RegularExpressions
See Below:
Step 14
Return to the Designer View, by selecting the "MainPage.xaml" Tab, or Right Click on the Page or the Entry for "MainPage.xaml" in Solution Explorer and choose the "View Designer" option.
Double Click on the "Open..." Button and type in the Open_Click Sub:
Dim OpenDialog As New OpenFileDialog
OpenDialog.Filter = "Internet Favourite (*.url)|*.url"
If OpenDialog.ShowDialog Then
  Try
    If OpenDialog.File.Exists Then
      Dim _url As New Regex("^URL=(?<URL>.*)$", RegexOptions.Multiline)
      Address.Text = _url.Match(OpenDialog.File.OpenText.ReadToEnd).Groups("URL").Value
    End If
  Catch ex As Exception
    ' Ignore Errors
  End Try
End If
See Below:

Step 15
Return to the Designer View again, by selecting the "MainPage.xaml" Tab, or Right Click on the Page or the Entry for "MainPage.xaml" in Solution Explorer and choose the "View Designer" option.
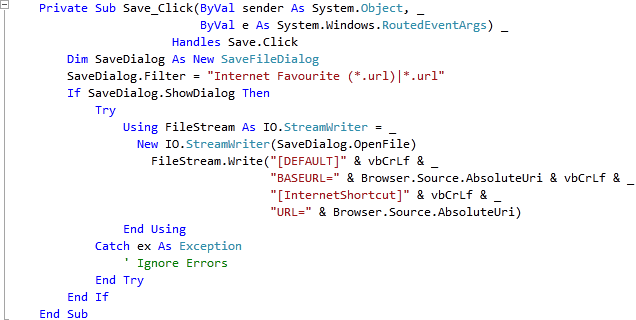
Double Click on the "Save..." Button and type in the Save_Click Sub:
Dim SaveDialog As New SaveFileDialog
SaveDialog.Filter = "Internet Favourite (*.url)|*.url"
If SaveDialog.ShowDialog Then
  Try
    Using FileStream As IO.StreamWriter = _
      New IO.StreamWriter(SaveDialog.OpenFile)
      FileStream.Write("[DEFAULT]" & vbCrLf & _
      "BASEURL=" & Browser.Source.AbsoluteUri & vbCrLf & _
      "[InternetShortcut]" & vbCrLf & _
      "URL=" & Browser.Source.AbsoluteUri)
    End Using
  Catch ex As Exception
    ' Ignore Errors
  End Try
End If
See Below:
Step 16
Return to the Designer View, by selecting the "MainPage.xaml" Tab, or Right Click on the Page or the Entry for "MainPage.xaml" in Solution Explorer and choose the "View Designer" option.
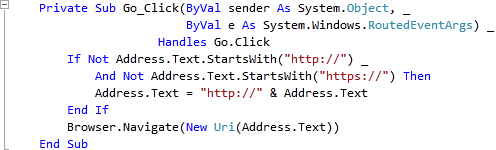
Double Click on the "Go" Button Control and type in the Go_Click Sub:
If Not Address.Text.StartsWith("http://") _
  And Not Address.Text.StartsWith("https://") Then
    Address.Text = "http://" & Address.Text
End If
Browser.Navigate(New Uri(Address.Text))
See Below:
Step 17
Save the Project as you have now finished the Silverlight application. Select Debug then Start Debugging or click on Start Debugging:
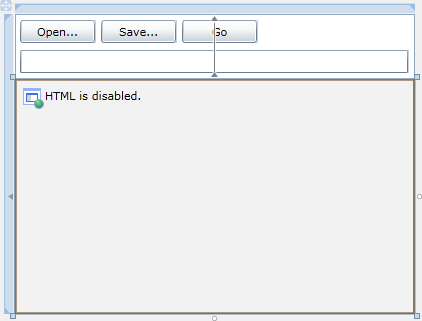
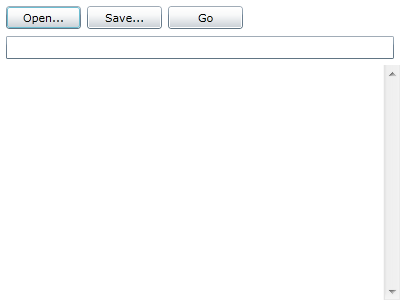
After you do, the following will appear in a new Web Browser window:
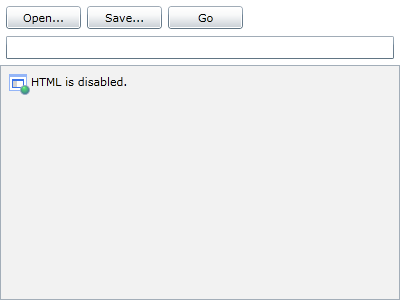
Step 18
Notice that Web Browser pane contains the following "HTML is disabled", this is because it only works Out-of-Browser, Right-click on the Application in the Browser and choose the "Install WebBrowser Application onto this Computer..." option to show the Installation Screen, see below:
Step 19
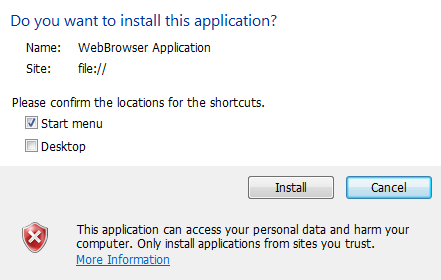
Check the "Start menu" or "Desktop" boxes to add a Shortcut to the Application in either or both locations, and then click on the "Install" button, the following will then appear in a new Window:
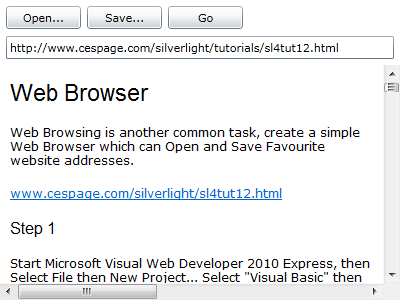
Step 20
Now type into the TextBox the Address of a Website, then Click on the Go button to visit that Website, you can "Save" this as a Favourite to "Open" later, see below:
Step 21
Close the Application and Browser window by clicking on the Close Button ![]() on
the top right of the Application Window and Web Browser to Stop the application.
on
the top right of the Application Window and Web Browser to Stop the application.
This is a very Simple Web Browser using the new WebBrowser feature in Silverlight 4, this example can also Open and Save Favourites in the standard ".url" format. You can use this to display any HTML content you want - including other Silverlight applications it only works in the Out-of-Browser mode, but you can use it for any web content!
![]()