Flip Clock emulates the classic "Flip Clock" style of alarm clocks and airport signage as a clock for Silverlight!
www.cespage.com/silverlight/sl4tut28.html
Step 1
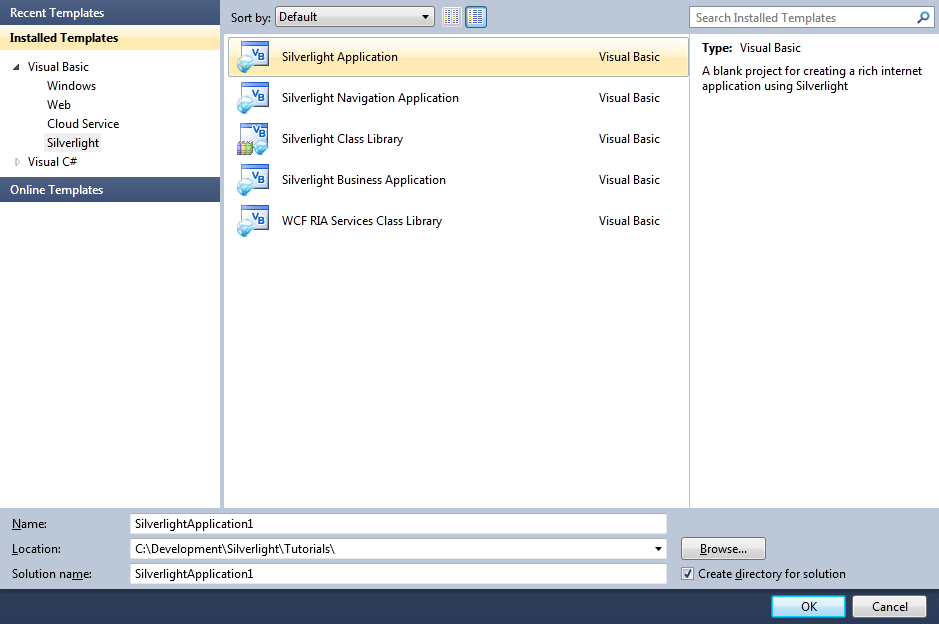
Start Microsoft Visual Web Developer 2010 Express, then Select File then New Project... Select "Visual Basic" then "Silverlight Application" from Templates, select a Location if you wish, then enter a name for the Project and then click OK, see below:
Step 2
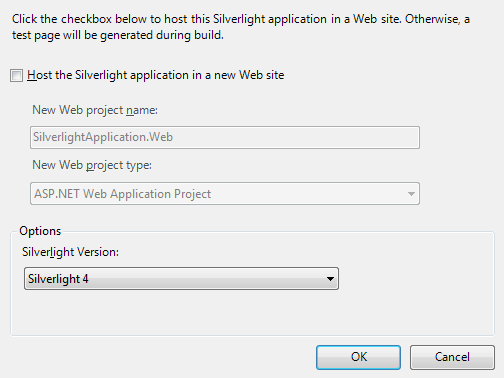
New Silverlight Application window should appear, uncheck the box "Host the Silverlight Application in a new Web site" and then select the required Silverlight Version, see below:
Step 3
A Blank Page named MainPage.xaml should then appear, see below:
Step 4
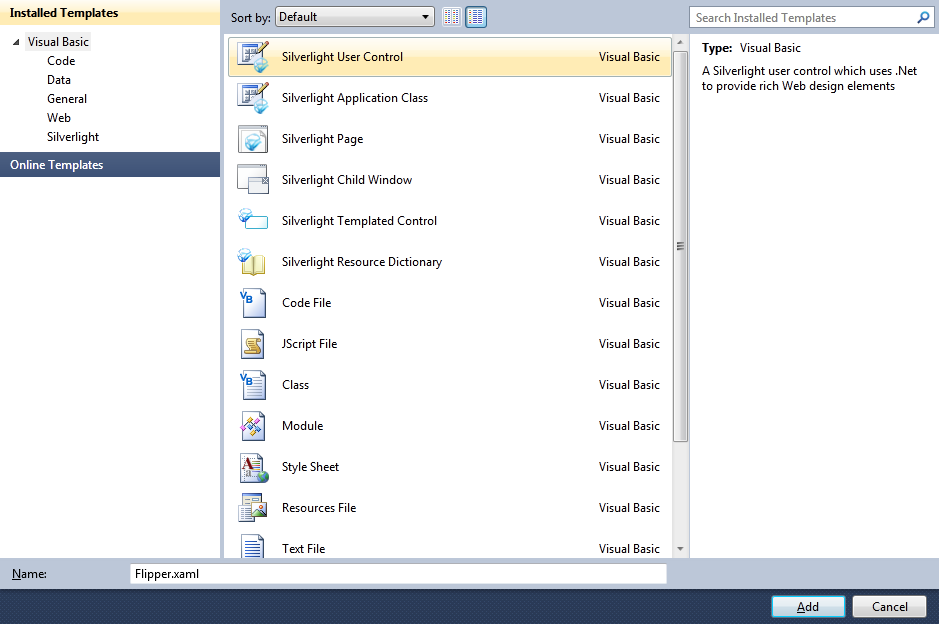
Select Project then "Add New Item...", and select the "Silverlight User Control" Template if not already Selected, then change the "Name" to Flipper.xaml, see below:
Step 5
Add the new User Control to the Project by Clicking on Add, then in the XAML Pane for the Flipper.xaml User Control,
for the "<UserControl>" Tag, add the following XAML attributes after mc:Ignorable="d":
Foreground="WhiteSmoke" FontSize="64"
Then change the DesignHeight to "96" and DesignWidth Attribute to "100", see below:

Step 6
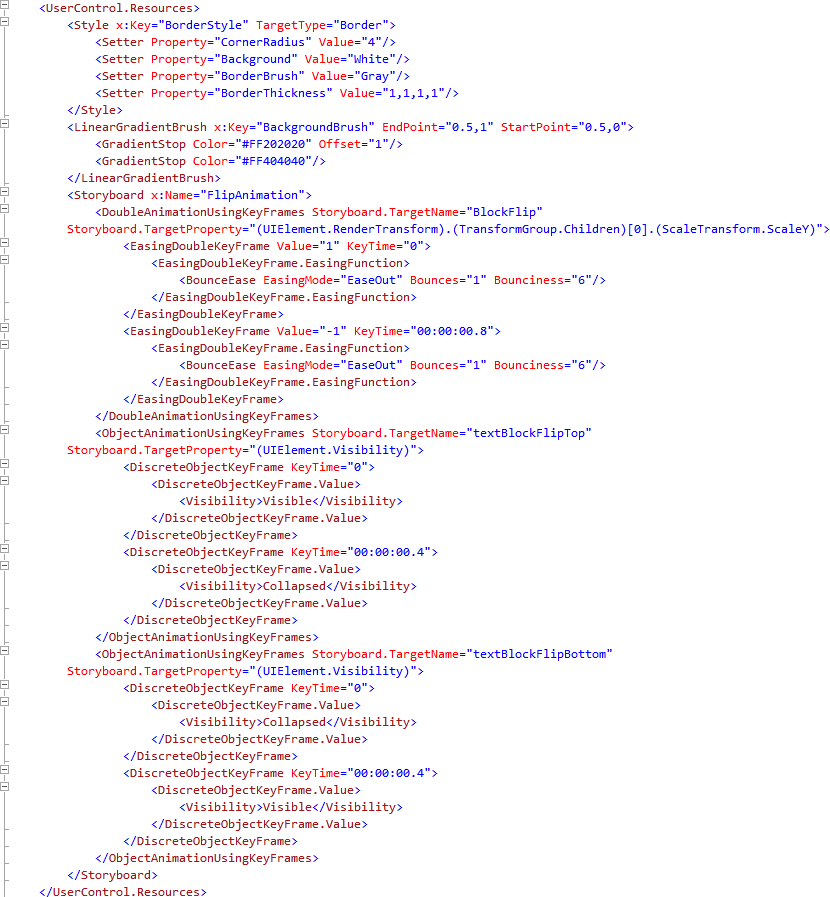
While still the XAML Pane for Flipper.xaml, above the "<Grid>" and below the top "<UserControl>" tag, type the following XAML:
<UserControl.Resources>
  <Style x:Key="BorderStyle" TargetType="Border">
    <Setter Property="CornerRadius" Value="4"/>
    <Setter Property="Background" Value="White"/>
    <Setter Property="BorderBrush" Value="Gray"/>
    <Setter Property="BorderThickness" Value="1,1,1,1"/>
  </Style>
  <LinearGradientBrush x:Key="BackgroundBrush" EndPoint="0.5,1" StartPoint="0.5,0">
    <GradientStop Color="#FF202020" Offset="1"/>
    <GradientStop Color="#FF404040"/>
  </LinearGradientBrush>
  <Storyboard x:Name="FlipAnimation">
    <DoubleAnimationUsingKeyFrames Storyboard.TargetName="BlockFlip"
        Storyboard.TargetProperty="(UIElement.RenderTransform).(TransformGroup.Children)[0].(ScaleTransform.ScaleY)">
      <EasingDoubleKeyFrame Value="1" KeyTime="0">
        <EasingDoubleKeyFrame.EasingFunction>
          <BounceEase EasingMode="EaseOut" Bounces="1" Bounciness="6"/>
        </EasingDoubleKeyFrame.EasingFunction>
      </EasingDoubleKeyFrame>
      <EasingDoubleKeyFrame Value="-1" KeyTime="00:00:00.8">
        <EasingDoubleKeyFrame.EasingFunction>
          <BounceEase EasingMode="EaseOut" Bounces="1" Bounciness="6"/>
        </EasingDoubleKeyFrame.EasingFunction>
      </EasingDoubleKeyFrame>
    </DoubleAnimationUsingKeyFrames>
    <ObjectAnimationUsingKeyFrames Storyboard.TargetName="textBlockFlipTop"
        Storyboard.TargetProperty="(UIElement.Visibility)">
      <DiscreteObjectKeyFrame KeyTime="0">
        <DiscreteObjectKeyFrame.Value>
          <Visibility>Visible</Visibility>
        </DiscreteObjectKeyFrame.Value>
      </DiscreteObjectKeyFrame>
      <DiscreteObjectKeyFrame KeyTime="00:00:00.4">
        <DiscreteObjectKeyFrame.Value>
          <Visibility>Collapsed</Visibility>
        </DiscreteObjectKeyFrame.Value>
      </DiscreteObjectKeyFrame>
    </ObjectAnimationUsingKeyFrames>
    <ObjectAnimationUsingKeyFrames Storyboard.TargetName="textBlockFlipBottom"
        Storyboard.TargetProperty="(UIElement.Visibility)">
      <DiscreteObjectKeyFrame KeyTime="0">
        <DiscreteObjectKeyFrame.Value>
          <Visibility>Collapsed</Visibility>
        </DiscreteObjectKeyFrame.Value>
      </DiscreteObjectKeyFrame>
      <DiscreteObjectKeyFrame KeyTime="00:00:00.4">
        <DiscreteObjectKeyFrame.Value>
          <Visibility>Visible</Visibility>
        </DiscreteObjectKeyFrame.Value>
      </DiscreteObjectKeyFrame>
    </ObjectAnimationUsingKeyFrames>
  </Storyboard>
</UserControl.Resources>
See below:
Step 7
While still in the XAML Pane for Flipper.xaml replace from the "<Grid>" to the "</Grid>" Tag with the following Grid and Layout XAML:
<Grid Height="96" Width="100">
  <Grid.RowDefinitions>
    <RowDefinition Height="0.5*"/>
    <RowDefinition Height="0.5*"/>
  </Grid.RowDefinitions>
  <Border Style="{StaticResource BorderStyle}" Background="{StaticResource BackgroundBrush}" x:Name="BlockTop">
    <TextBlock HorizontalAlignment="Center" VerticalAlignment="Top" Text="01" x:Name="textBlockTop"/>
  </Border>
  <Border Grid.Row="1" Style="{StaticResource BorderStyle}" x:Name="BlockBottom">
    <Border.Background>
      <LinearGradientBrush EndPoint="0.5,1" StartPoint="0.5,0">
        <GradientStop Color="#FF202020"/>
        <GradientStop Color="#FF404040" Offset="1"/>
      </LinearGradientBrush>
    </Border.Background>
    <TextBlock HorizontalAlignment="Center" VerticalAlignment="Bottom" RenderTransformOrigin="0.5,0" Text="00" x:Name="textBlockBottom"/>
  </Border>
  <Border Style="{StaticResource BorderStyle}" Background="{StaticResource BackgroundBrush}" RenderTransformOrigin="0.5,1" x:Name="BlockFlip">
    <Border.RenderTransform>
      <TransformGroup>
        <ScaleTransform/>
        <SkewTransform/>
        <RotateTransform/>
        <TranslateTransform/>
      </TransformGroup>
    </Border.RenderTransform>
    <Grid>
      <TextBlock HorizontalAlignment="Center" VerticalAlignment="Top" Text="00" x:Name="textBlockFlipTop"/>
      <TextBlock HorizontalAlignment="Center" VerticalAlignment="Bottom" Visibility="Collapsed" RenderTransformOrigin="0.5,0.5" x:Name="textBlockFlipBottom">
        <TextBlock.RenderTransform>
          <TransformGroup>
            <ScaleTransform ScaleY="-1"/>
            <SkewTransform/>
            <RotateTransform/>
            <TranslateTransform Y="48"/>
          </TransformGroup>
        </TextBlock.RenderTransform>
      </TextBlock>
    </Grid>
  </Border>
</Grid>
See below:
Step 8
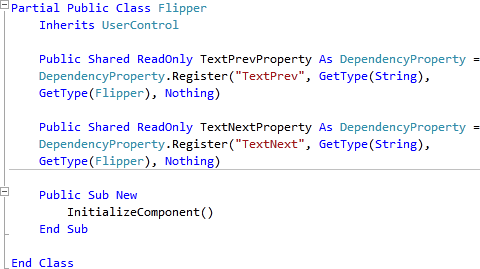
Right Click on the Page or the entry for "Flipper.xaml" in Solution Explorer and choose the "View Code" option. In the Code View below the "Inherits UserControl" line type the following DependencyProperties:
Public Shared ReadOnly TextPrevProperty As DependencyProperty =
DependencyProperty.Register("TextPrev", GetType(String),
GetType(Flipper), Nothing)

Public Shared ReadOnly TextNextProperty As DependencyProperty =
DependencyProperty.Register("TextNext", GetType(String),
GetType(Flipper), Nothing)
See Below:
Step 9
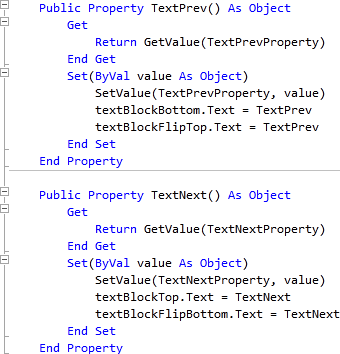
While still in the Code View for Flipper.vb, above the "End Class" for "Partial Public Class Flipper", type the following Properties:
Public Property TextPrev() As Object
  Get
    Return GetValue(TextPrevProperty)
  End Get
  Set(ByVal value As Object)
    SetValue(TextPrevProperty, value)
    textBlockBottom.Text = TextPrev
    textBlockFlipTop.Text = TextPrev
  End Set
End Property

Public Property TextNext() As Object
  Get
    Return GetValue(TextNextProperty)
  End Get
  Set(ByVal value As Object)
    SetValue(TextNextProperty, value)
    textBlockTop.Text = TextNext
    textBlockFlipBottom.Text = TextNext
  End Set
End Property
See Below:
Step 10
While still in the Code View for Flipper.vb, below the "End Sub" of "Public Sub New()", type the following Sub:
Public Sub Flip(ByVal FromValue As String, ByVal ToValue As String)
  TextNext = ToValue
  TextPrev = FromValue
  FlipAnimation.Begin()
End Sub
See Below:

Step 11
Select Debug then the "Build FlipClock" option from the menu, see below:
Step 12
Return to the MainPage.xaml Designer View by selecting the "MainPage.xaml" Tab, or Double Clicking on the Entry for "MainPage.xaml"
in Solution Explorer.
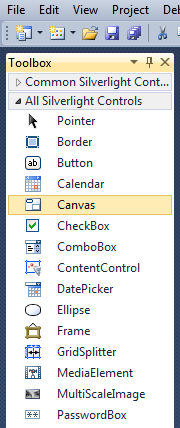
Then from the All Silverlight Controls section in the Toolbox select the Canvas control:
Step 13
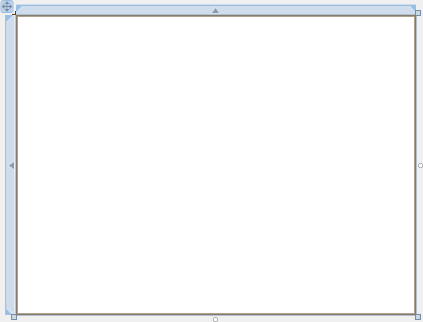
Draw a Canvas that fill the whole Page or in the XAML Pane between the "<Grid>" and "</Grid>" lines type the following XAML:
<Canvas Height="300" Width="400" HorizontalAlignment="Left" VerticalAlignment="Top" Name="Page">
</Canvas>
See below:
Step 14
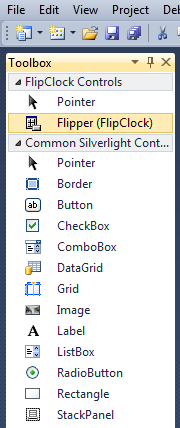
Then from the FlipClock Controls section in the Toolbox select the Flipper control:
Step 15
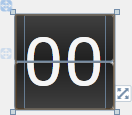
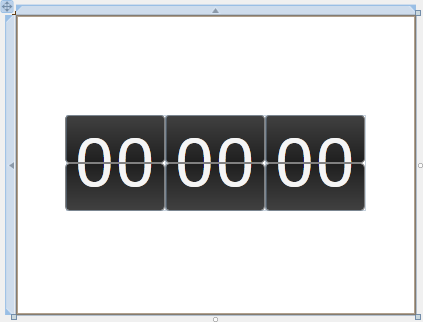
Draw Three Flippers on the Canvas (Page) by dragging the Flipper Control from the Toolbox onto the Canvas then in the XAML Pane inbetween the "<Canvas>" and "</Canvas>" tags change the "<my:Flipper>" lines to the following:
<my:Flipper Canvas.Top="100" Canvas.Left="50" x:Name="Hours"/>
<my:Flipper Canvas.Top="100" Canvas.Left="150" x:Name="Minutes"/>
<my:Flipper Canvas.Top="100" Canvas.Left="250" x:Name="Seconds"/>
See below:
Step 16
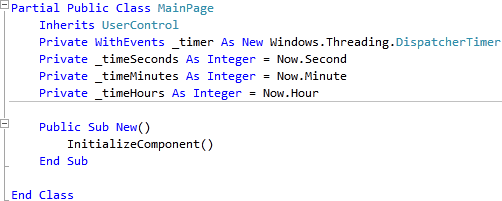
Right Click on the Page or the entry for "MainPage.xaml" in Solution Explorer and choose the "View Code" option. In the Code View below the "Inherits UserControl" line type the following:
Private WithEvents _timer As New Windows.Threading.DispatcherTimer
Private _timeSeconds As Integer = Now.Second
Private _timeMinutes As Integer = Now.Minute
Private _timeHours As Integer = Now.Hour
See Below:
Step 17
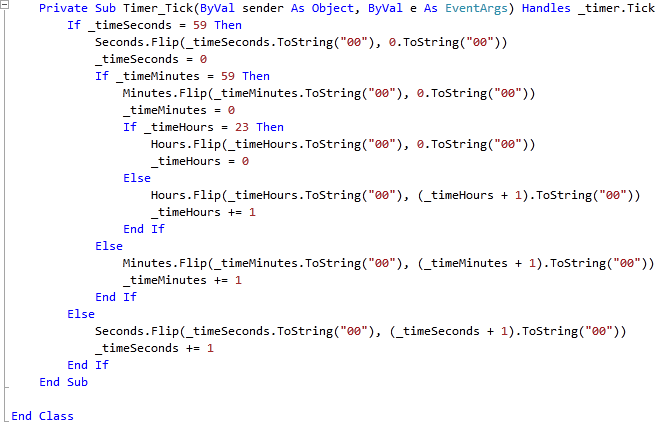
While still in the Code View for MainPage.xaml, below the "End Sub" for "Public Sub New()" type the following Event Handler:
Private Sub Timer_Tick(ByVal sender As Object, ByVal e As EventArgs) Handles _timer.Tick
  If _timeSeconds = 59 Then
    Seconds.Flip(_timeSeconds.ToString("00"), 0.ToString("00"))
    _timeSeconds = 0
    If _timeMinutes = 59 Then
      Minutes.Flip(_timeMinutes.ToString("00"), 0.ToString("00"))
      _timeMinutes = 0
      If _timeHours = 23 Then
        Hours.Flip(_timeHours.ToString("00"), 0.ToString("00"))
        _timeHours = 0
      Else
        Hours.Flip(_timeHours.ToString("00"), (_timeHours + 1).ToString("00"))
        _timeHours += 1
      End If
    Else
      Minutes.Flip(_timeMinutes.ToString("00"), (_timeMinutes + 1).ToString("00"))
      _timeMinutes += 1
    End If
  Else
    Seconds.Flip(_timeSeconds.ToString("00"), (_timeSeconds + 1).ToString("00"))
    _timeSeconds += 1
  End If
End Sub
See Below:
Step 18
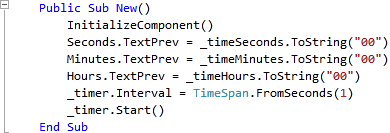
Still In the Code View for the MainPage.xaml in the "Public Sub New()" Constructor below the "InitializeComponent()" line type the following:
Seconds.TextPrev = _timeSeconds.ToString("00")
Minutes.TextPrev = _timeMinutes.ToString("00")
Hours.TextPrev = _timeHours.ToString("00")
_timer.Interval = TimeSpan.FromSeconds(1)
_timer.Start()
See Below:
Step 19
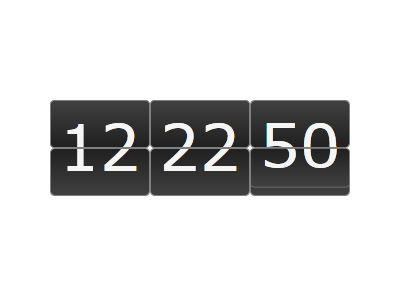
Save the Project as you have now finished the Silverlight application. Select Debug then Start Debugging or click on Start Debugging:
After you do, the following will appear in a new Web Browser window:
Step 20
Close the Application and Browser window by clicking on the Close Button ![]() on
the top right of the Application Window and Web Browser to Stop the application.
on
the top right of the Application Window and Web Browser to Stop the application.
This is a simple Flip Clock using a Flipper UserControl, it would be possible to use the flipper to display text such as the previously mentioned Airport displays for example - you can change the control to look even more like a classic flip clock or anything else - make it your own.