Audio Recorder is a simple sound recording example using the XNA Framework to Capture and Playback audio using Silverlight on Windows Phone 7.
Printer Friendly Download Tutorial (419KB) Download Source Code (18.3KB)
Step 1
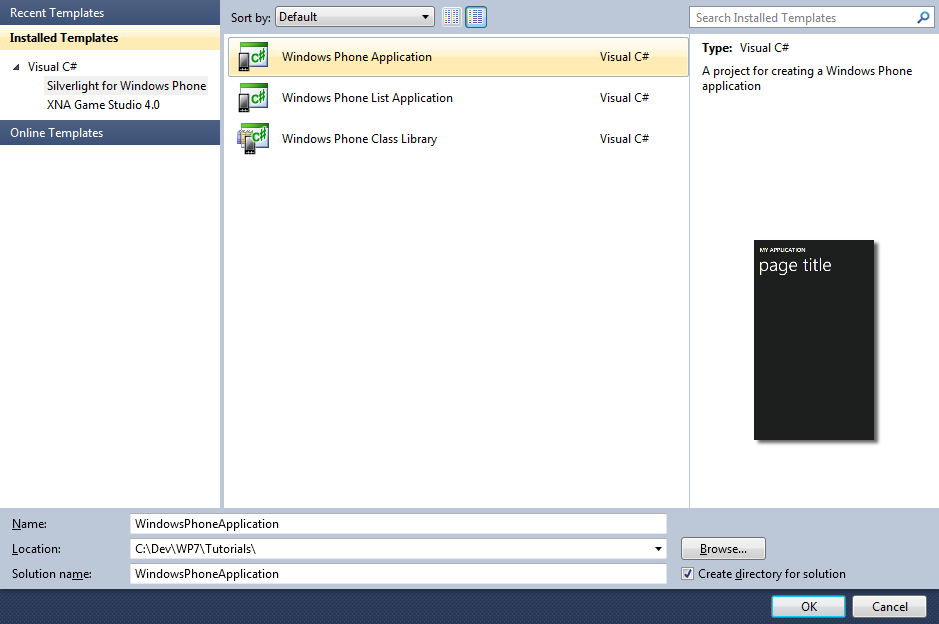
Start Microsoft Visual Studio 2010 Express for Windows Phone, then Select File then New Project... Select "Visual C#" then "Silverlight for Windows Phone" and then "Windows Phone Application" from Templates, select a Location if you wish, then enter a name for the Project and then click OK, see below:
Step 2
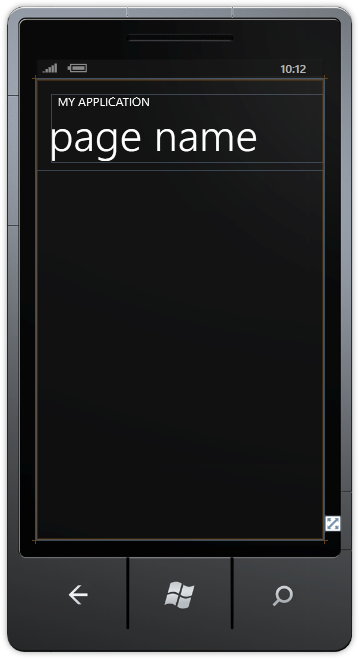
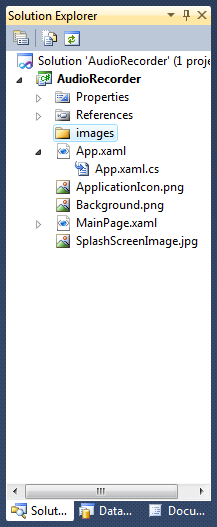
A Windows Phone application Page named MainPage.xaml should then appear, see below:
Step 3
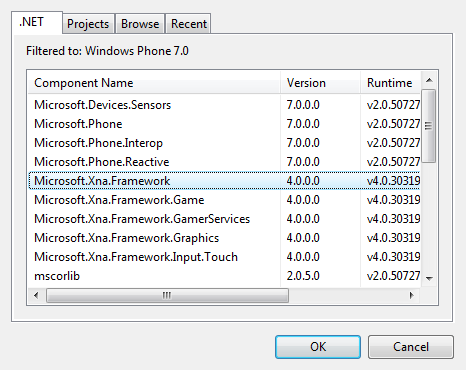
Select Project then Add Reference... The "Add Reference" window should appear, select "Microsoft.XNA.Framework" from the ".NET" List, see below:
Step 4
Add the Reference to "Microsoft.XNA.Framework" by Clicking on OK.
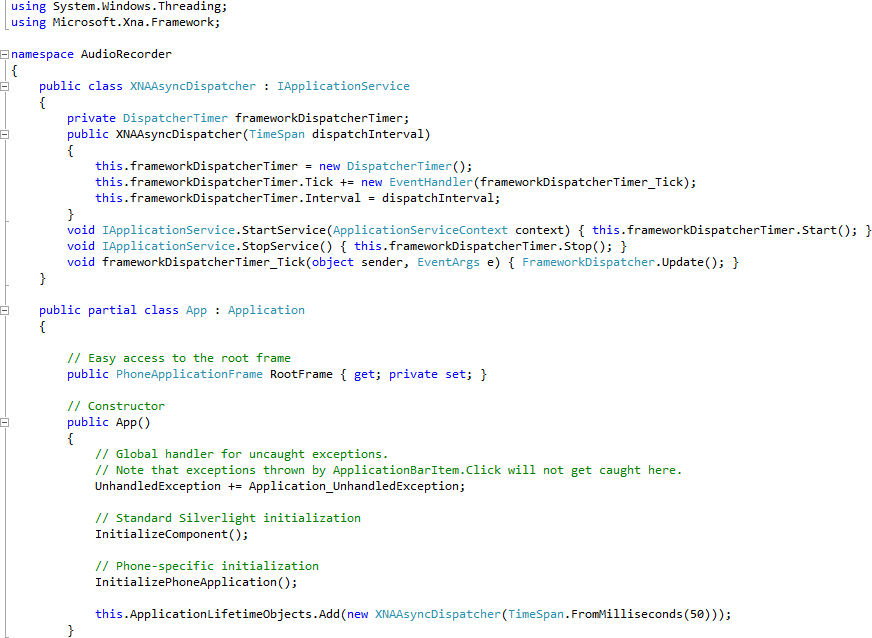
Right Click on the App.xaml Entry in the Solution Explorer and choose "View Code", then in the Code View for App.xaml.cs above "namespace AudioRecorder"
type the following:
using System.Windows.Threading;
using Microsoft.Xna.Framework;
Also in the CodeView above "public partial class App : Application" type the following Class declaration:
public class XNAAsyncDispatcher : IApplicationService
{
  private DispatcherTimer frameworkDispatcherTimer;
  public XNAAsyncDispatcher(TimeSpan dispatchInterval)
  {
    this.frameworkDispatcherTimer = new DispatcherTimer();
    this.frameworkDispatcherTimer.Tick += new EventHandler(frameworkDispatcherTimer_Tick);
    this.frameworkDispatcherTimer.Interval = dispatchInterval;
  }
  void IApplicationService.StartService(ApplicationServiceContext context) { this.frameworkDispatcherTimer.Start(); }
  void IApplicationService.StopService() { this.frameworkDispatcherTimer.Stop(); }
  void frameworkDispatcherTimer_Tick(object sender, EventArgs e) { FrameworkDispatcher.Update(); }
}
Again while still in the CodeView above the "}" for the Constructor "public App()" type the following:
this.ApplicationLifetimeObjects.Add(new XNAAsyncDispatcher(TimeSpan.FromMilliseconds(50)));
See Below:
Step 5
Right Click on the Entry for the Project in the Solution Explorer and choose "Add" then "New Folder", and give it the Name "images" (without quotes), see below:
Step 6
Download the following images (record.png, play.png & stop.png) by right-clicking on the images below and choose "Save Picture As..." or "Save Image As..." and Save them to a Folder on your computer:
Step 7
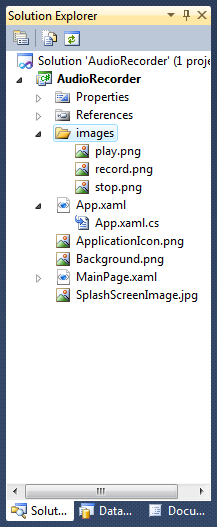
Right Click on the Entry for the "images" Folder for the Project in Solution Explorer, and choose "Add", then "Existing Item...", then in the "Add Existing Item" dialog select Folder you saved the images, then choose "Add" to add the record.png, play.png and stop.png to the images folder in the project, see below:
Step 8
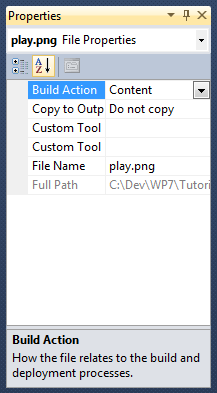
While still in the Solution Explorer click on the "play.png" image then goto the Properties box and change the Build Action to Content, do the same for the "record.png" and "stop.png" images, see below:
Step 9
Select the "MainPage.xaml" Tab if not already selected then in the XAML Pane above the "<Grid>" Tag type the following ApplicationBar XAML:
<phone:PhoneApplicationPage.ApplicationBar>
  <shell:ApplicationBar IsVisible="True" IsMenuEnabled="False">
    <shell:ApplicationBar.Buttons>
      <shell:ApplicationBarIconButton Text="record" IconUri="/images/record.png" Click="Record_Click"/>
      <shell:ApplicationBarIconButton Text="play" IconUri="/images/play.png" Click="Play_Click"/>
      <shell:ApplicationBarIconButton Text="stop" IconUri="/images/stop.png" Click="Stop_Click"/>
    </shell:ApplicationBar.Buttons>
  </shell:ApplicationBar>
</phone:PhoneApplicationPage.ApplicationBar>
See below:

Step 10
Right Click on the Page or the entry for "MainPage.xaml" in Solution Explorer and choose the "View Code" option. In the Code View above "namespace AudioRecorder" type the following:
using Microsoft.Xna.Framework.Audio;
using System.IO;
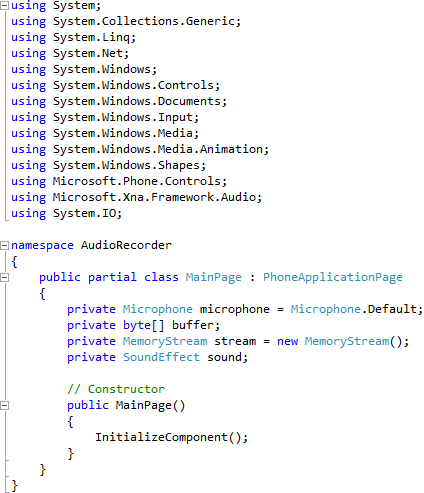
Also in the CodeView above "public MainPage()" type the following declarations:
private Microphone microphone = Microphone.Default;
private byte[] buffer;
private MemoryStream stream = new MemoryStream();
private SoundEffect sound;
See Below:
Step 11
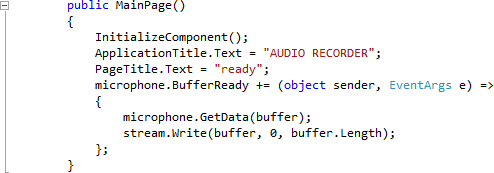
While still in the Code View for MainPage.xaml.cs in the "public MainPage()" Constructor below "InitializeComponent();" type the following:
ApplicationTitle.Text = "AUDIO RECORDER";
PageTitle.Text = "ready";
microphone.BufferReady += (object sender, EventArgs e) =>
{
  microphone.GetData(buffer);
  stream.Write(buffer, 0, buffer.Length);
};
See Below:
Step 12
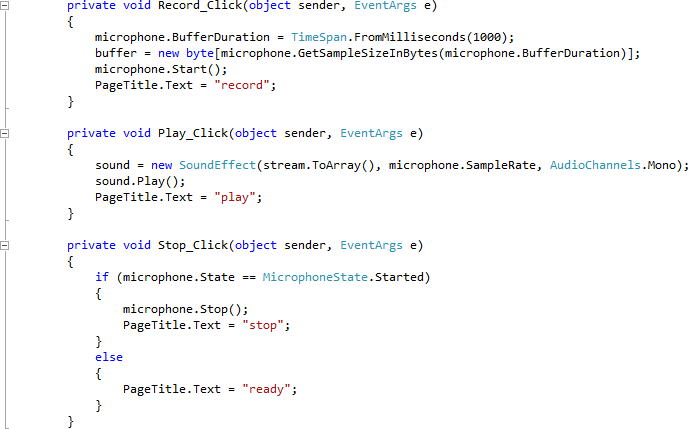
While still the Code View for MainPage.xaml.cs above "public MainPage()" type the following Event Handlers:
private void Record_Click(object sender, EventArgs e)
{
  microphone.BufferDuration = TimeSpan.FromMilliseconds(1000);
  buffer = new byte[microphone.GetSampleSizeInBytes(microphone.BufferDuration)];
  microphone.Start();
  PageTitle.Text = "record";
}

private void Play_Click(object sender, EventArgs e)
{
  sound = new SoundEffect(stream.ToArray(), microphone.SampleRate, AudioChannels.Mono);
  sound.Play();
  PageTitle.Text = "play";
}

private void Stop_Click(object sender, EventArgs e)
{
  if (microphone.State == MicrophoneState.Started)
  {
    microphone.Stop();
    PageTitle.Text = "stop";
  }
  else
  {
    PageTitle.Text = "ready";
  }
}
See Below:
Step 13
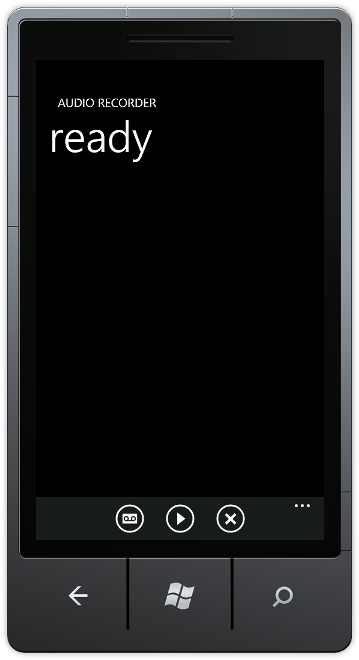
Save the Project as you have now finished the Windows Phone Silverlight application. Select the Windows Phone Emulator option then Select Debug then Start Debugging or click on Start Debugging:
After you do, the following will appear in the Windows Phone Emulator after it has been loaded:
Step 14
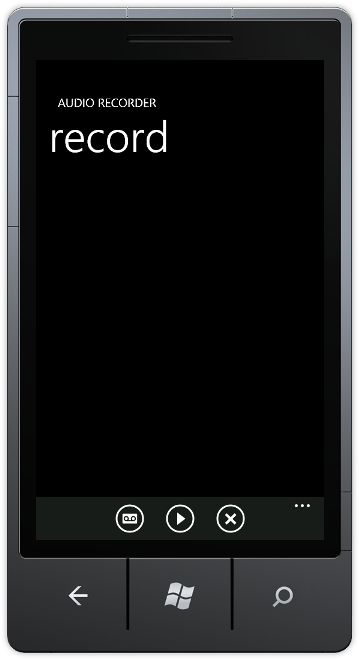
Tap on the "record" button to being recording, then tap "stop" to end recording - which you can then playback with "play", see below:
Step 15
You can then Stop the application by selecting the Visual Studio 2010 application window and clicking on the Stop Debugging button:
This is a simple Audio Recorder, the stream the audio is stored in could be used to save the recorded audio in IsolatedStorage, it could also be modified to show more visual indications of Recording or Playback in progress - make it your own!
![]()